
You walk past the hallway wall and notice it. A small bubble. You press it gently and a section of paint lifts away like old wallpaper. Two years ago, you paid good money to have this room painted. Now it looks worse than before you started.
If you’re in Sydney, this isn’t bad luck. The city’s coastal humidity, temperature swings, and older housing stock create conditions that accelerate paint failure. What holds up fine in Canberra or Adelaide can bubble and peel here within months. The good news? Most paint failure is preventable once you understand what’s actually going wrong.
This isn’t about blaming your painter or buying more expensive paint. It’s about identifying the specific cause of your problem and matching it to the right fix. Get the diagnosis wrong, and you’ll be repainting the same wall in six months.
The Real Culprits Behind Peeling Paint (It’s Not Always Poor Workmanship)
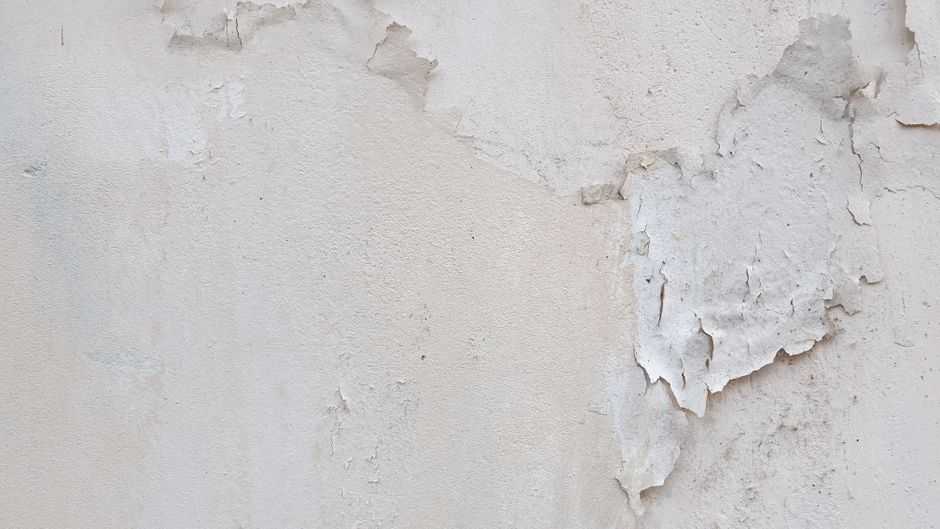
Photo by Krakograff Textures on Pexels
Most homeowners assume peeling paint means the painter did a poor job. Sometimes that’s true. More often, it’s not.
Paint failure usually comes down to three things: moisture trapped under the paint film, inadequate surface preparation, or incompatible paint layers that won’t bond properly. Each creates a different pattern of failure. Each requires a different fix.
The key is learning to read what the peeling paint is telling you. A wall that bubbles after rain is different from one that flakes near the skirting boards. Different symptoms, different problems, different solutions. There’s no universal fix that works for everything.
Moisture Is Enemy Number One
When moisture gets trapped between the wall and the paint film, it has nowhere to go. Pressure builds. The paint lifts. You get bubbles, soft patches, and eventually large sections that peel away in sheets.
In Sydney, moisture comes from everywhere. Bathroom steam that doesn’t vent properly. Coastal humidity that penetrates external walls. Leaking gutters that send water down behind the paint. Rising damp in older homes built before proper moisture barriers became standard.
Moisture-related peeling has a distinctive look. The paint feels soft when you touch it. Bubbles appear, especially after humid weather or rain. When you peel it back, the paint often comes off in large, intact sheets, and the wall underneath feels damp or shows water staining.
Here’s what matters: painting over a damp surface doesn’t fix anything. It locks the moisture in. The new paint will fail just as quickly as the old paint did, often within months. The moisture source must be resolved first, or you’re wasting time and money.
Poor Surface Preparation Creates a Weak Bond
Paint needs something to grip. A clean, sound surface gives it that. Dirt, grease, dust, or loose old paint creates a barrier. The new paint bonds to the contamination, not the wall. When the contamination fails, the paint goes with it.
Common shortcuts cause this. Skipping the cleaning step. Not sanding glossy surfaces to create tooth. Painting directly over flaking or chalky old paint. Each saves time upfront but guarantees problems later.
Poor prep shows up differently than moisture damage. The paint peels in chips or flakes rather than sheets. It often starts near edges, corners, or areas where old paint was already compromised. When you scrape it, the surface underneath feels dusty or powdery rather than damp.
Incompatible Paint Layers Don’t Play Well Together
Oil-based and water-based paints don’t bond well without proper priming. Many older Sydney homes have oil-based paint underneath. Homeowners paint over it with modern water-based products without checking what’s there. The new paint sits on top but never truly adheres.
This creates a specific failure pattern. The paint peels in large, clean sheets, often taking you right down to the original surface. It’s especially common in DIY jobs where someone painted over existing paint without testing compatibility first.
The problem isn’t always obvious until it fails. The paint might look fine for months, then suddenly start lifting in sections. Once it starts, it tends to spread quickly.
How to Diagnose What’s Causing Your Specific Problem
Think of this as detective work. You’re looking for clues that tell you what went wrong. Visual patterns, simple tests, and a bit of observation will get you most of the way there.
Correct diagnosis matters because the wrong fix wastes time and money. Repaint over a moisture problem and you’ll be back where you started within months. Strip back a wall that only needed better prep and you’ve done unnecessary work.
The Peel Test: What the Pattern Tells You
Find a section that’s already peeling. Gently pull at it and watch how it comes away.
If it peels in large, intact sheets that come off cleanly, you’re likely dealing with incompatible layers or poor adhesion between coats. If the paint feels soft, bubbles when you press it, or comes off easily when wet, moisture is your problem. If it flakes in small chips and the surface underneath is dusty, chalky, or powdery, you’ve got a surface prep issue.
Take a photo of the peeling pattern. If you end up calling a professional, it helps them diagnose the problem before they arrive. It also gives you a reference point if the problem recurs.
Check for Hidden Moisture Sources
Look for water stains on the wall or ceiling. Feel the wall for dampness, especially after rain or during humid weather. Check nearby plumbing for leaks. Inspect gutters and downpipes for blockages or damage that might be directing water toward the wall.
Moisture often travels. Peeling in one spot might indicate a leak elsewhere. Water can run down inside walls or across ceilings before it shows up as paint failure.
Bathrooms, laundries, and external walls are high-risk zones in Sydney homes. If you’re seeing problems in these areas, moisture is the likely culprit. Check them after rain or during humid weather when moisture is most visible.
The Right Way to Fix Peeling Paint (Based on What Caused It)
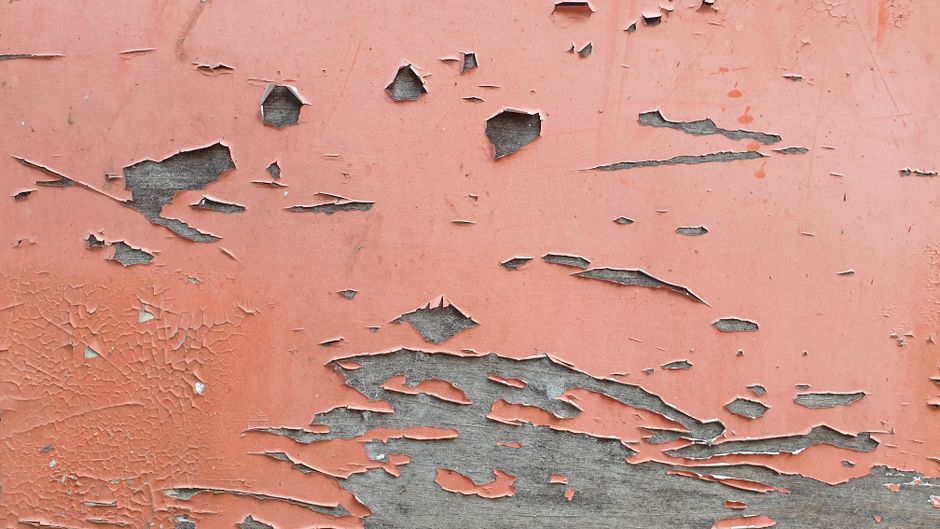
Photo by Krakograff Textures on Pexels
The fix must match the cause. Use the wrong approach and you’re back where you started, often within months.
Some fixes are straightforward enough for a competent DIYer. Others need professional help. The key is knowing which is which before you start. If you’re uncertain about tackling extensive repairs yourself, our guide on Diy Vs Professional House Painting When To Call In The Experts can help you decide when to bring in a professional.
Fixing Moisture-Related Peeling
Step one: fix the moisture source. Repair leaks. Improve ventilation in bathrooms and laundries. Redirect water away from external walls. Clear gutters and downpipes. Until you do this, any paint job is temporary.
Step two: let the area dry completely. In Sydney’s humid climate, this can take weeks. Don’t rush it. Painting over damp surfaces guarantees the problem will return.
Step three: scrape off all loose paint. Sand the edges smooth. Prime with a moisture-resistant primer designed for the conditions. Then repaint.
Repainting before fixing the moisture source will result in the same problem within months. It’s not a matter of if, but when.
Call a professional for rising damp, structural leaks, or persistent moisture issues that you can’t identify or fix yourself. These problems often require specialist knowledge and equipment.
Repairing Poor Prep or Incompatible Layers
For poor prep: scrape off all loose paint. Clean thoroughly with sugar soap to remove grease and dirt. Sand to create tooth for the new paint to grip. Prime any bare patches. Then repaint.
For incompatible layers: use a bonding primer designed to bridge oil-based and water-based paints. Alternatively, strip back to the bare surface and start fresh.
Here’s a simple test for oil versus water-based paint: rub a small area with methylated spirits. If paint comes off on the cloth, it’s water-based. If nothing comes off, it’s oil-based.
Skipping primer when painting water-based paint over oil-based paint will cause the problem to return. The primer creates the bond that the paint alone can’t achieve. When you’re ready to refresh your space with a new colour scheme, our article on 5 Unexpected Colors That Can Boost Your Homes Curb Appeal offers fresh ideas that work well in Sydney homes.
Extensive peeling across large areas usually warrants professional stripping and repainting. It’s labour-intensive work, and the cost of doing it wrong often exceeds the cost of hiring it out.
When to Strip Back vs. Spot Repair
Spot repair works when peeling is isolated to small areas, the underlying paint is sound, and you’ve fixed the cause. Scrape, sand, prime, and repaint the affected sections.
Strip back when peeling is widespread, multiple layers are failing, or the surface has extensive damage. Trying to patch a wall that’s failing across 40% of its surface is false economy. You’ll spend more time and money on repeated repairs than you would have spent stripping it properly once.
A practical rule: if more than 30% of a wall is affected, stripping is usually more cost-effective than patching. It creates a clean slate and prevents recurring problems.
Proper stripping is hard work. It’s dusty, time-consuming, and physically demanding. It’s often worth hiring out, especially for large areas or multiple rooms.
Stop It Happening Again
Prevention comes down to three things: control moisture, prepare surfaces properly, and use compatible products.
Improve bathroom and laundry ventilation. Install or upgrade exhaust fans. Open windows during and after showers. Maintain gutters and downpipes to keep water away from walls. Use quality primer before topcoats, especially when painting over old or oil-based paint. If you’re considering more sustainable options for your next paint job, The Ultimate Guide To Eco Friendly House Paints What You Need To Know covers modern alternatives that perform well in Sydney’s climate.
Sydney’s climate demands extra attention to moisture control compared to drier regions. What works in Adelaide might not work here. Factor that into your planning.
Paint failure is frustrating, but it’s almost always preventable with the right knowledge. Walk through your home now and assess the risk areas. Check bathrooms, laundries, and external walls. Look for early signs of moisture or poor adhesion. Catching problems early is always cheaper than fixing them after they’ve spread.