Why Proper Aftercare Matters for Your Paint Investment
A professional paint job is a significant investment in your home's appearance and value. While the transformation is immediate, the longevity of your newly painted walls depends heavily on proper aftercare during the first few weeks and ongoing maintenance. Understanding when and how to care for your painted surfaces ensures they'll look fresh and vibrant for years to come.
The Critical Curing Period: When NOT to Touch Your Walls
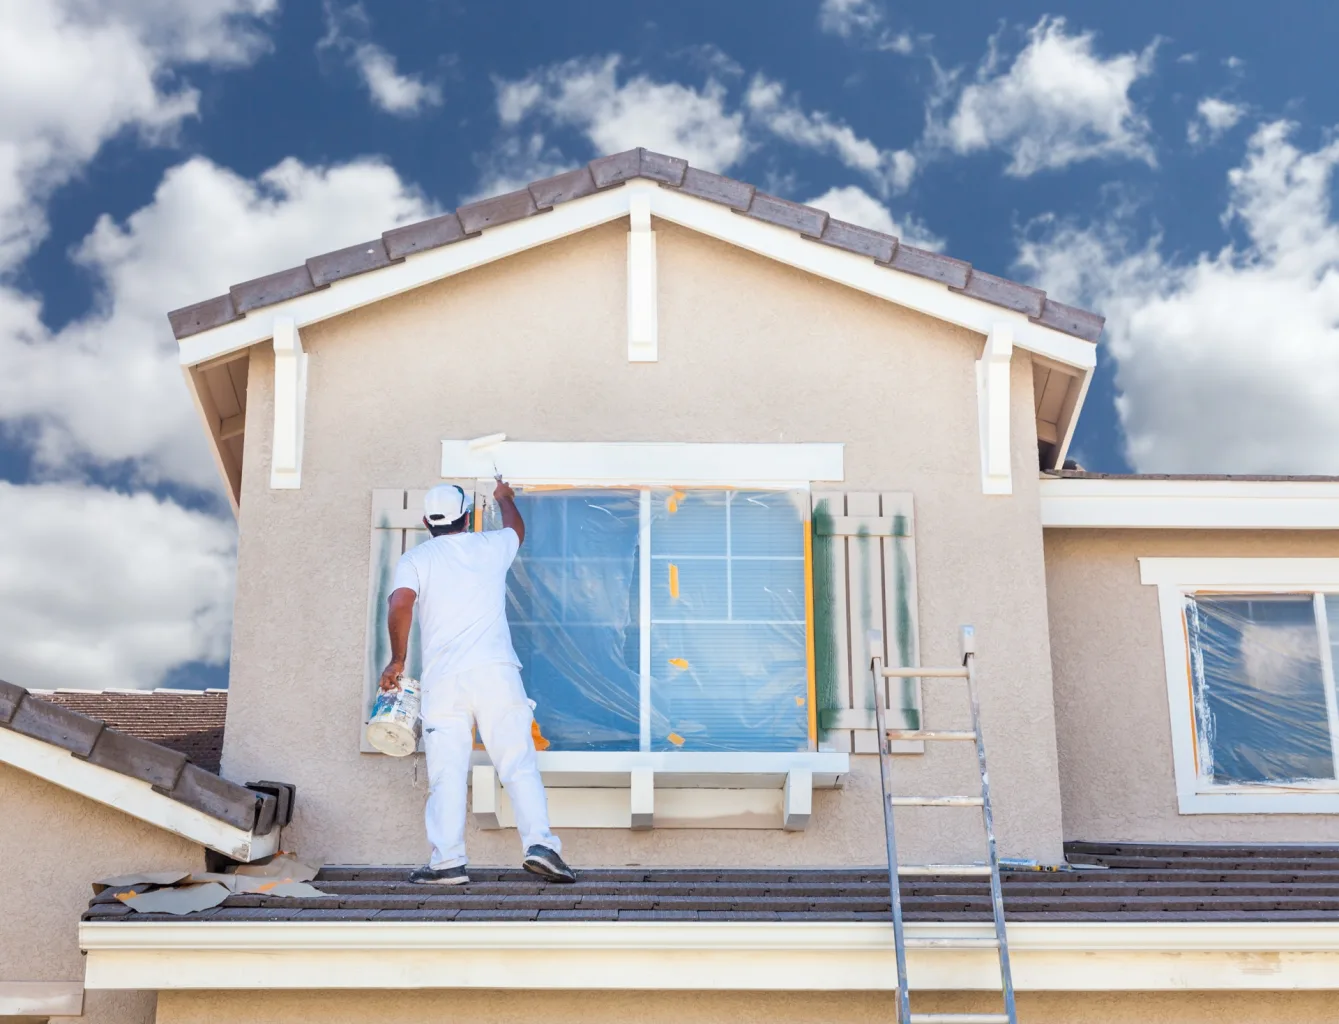
Painting
While your freshly painted walls may feel dry to the touch within hours, paint requires 2-4 weeks to fully cure. During this critical period, the paint is still hardening and bonding to the surface. Premature cleaning or excessive contact can damage the finish, leaving marks or removing paint entirely.
What to Avoid During the First 30 Days
- Washing or scrubbing the walls with any cleaning solutions
- Placing furniture directly against freshly painted surfaces
- Hanging pictures or applying tape or adhesives
- Aggressive touching or rubbing of painted areas
- Using abrasive materials or harsh chemicals near the walls
Professional tip: Curing time can extend beyond 30 days in humid or cool weather conditions. If you've recently had your home painted during winter or in high-humidity conditions, give the paint extra time to set properly.
When to Wash Your Newly Painted Walls
The safest approach is to wait at least 30 days before the first cleaning of newly painted walls. However, many paint manufacturers recommend waiting a minimum of 2 weeks for latex paints. The exact timing depends on several factors including paint type, number of coats, room temperature, and humidity levels.
Signs Your Paint Has Fully Cured
- The paint no longer has any chemical smell
- The surface feels completely hard and smooth
- Light touching doesn't leave fingerprint marks
- At least 2-4 weeks have passed since application
How to Clean Painted Walls Properly
Once your paint has fully cured, regular cleaning helps maintain that fresh, professional appearance. The cleaning method varies based on your paint type and finish, so it's essential to use the right approach for your specific walls.
Cleaning Solutions by Paint Type
Oil-Based Paint: Mix one teaspoon of dishwashing liquid and half a teaspoon of distilled white vinegar per quart of warm water. This combination effectively cuts through grease and grime without damaging the finish.
Latex/Water-Based Paint: Use a diluted multi-purpose cleaner or mild dishwashing soap with warm water. Avoid making the solution too soapy to prevent residue buildup.
Flat or Matte Finishes: These delicate finishes require special care. Start with regular vacuuming using a soft brush attachment, then use only water or a dry sponge if needed. Flat finishes don't tolerate moisture well, so minimize liquid cleaning.
Eggshell, Satin, Semi-Gloss, or High-Gloss: These more durable finishes can handle diluted dishwashing liquid solutions. Their washability makes them ideal for high-traffic areas.
The Proper Cleaning Technique (Step-by-Step)
- Dust first: Use a vacuum with a soft brush attachment or an extendable dusting wand to remove loose dust and cobwebs, starting from the top of the wall
- Prepare your solution: Mix your appropriate cleaning solution in a bucket, ensuring proper dilution to avoid residue
- Test in a hidden area: Always test your cleaning solution on an inconspicuous spot first to ensure it won't damage the paint
- Work from top to bottom: Use a soft sponge or microfiber cloth, wiping downward to prevent dirty water from dripping onto cleaned sections
- Rinse thoroughly: Follow up with a clean, damp cloth using plain water to remove any cleaning solution residue
- Dry gently: Pat dry with a clean, soft towel to prevent water spots or streaking
Important: Never use abrasive scrubbing pads, harsh chemicals, or excessive water on painted walls, as these can damage the finish or cause paint to peel.
Recommended Cleaning Frequency
- High-traffic areas (hallways, kitchens): Every 1-2 weeks
- Medium-traffic areas (living rooms, bedrooms): Once a month
- Low-traffic areas: Every 2-3 months or as needed
- Spot cleaning: Address marks and stains immediately after the curing period
Touch-Up Techniques for a Seamless Finish
Even with the best care, everyday life brings minor scuffs, chips, and marks. Knowing how to perform seamless touch-ups helps maintain your walls' pristine appearance without the need for complete repainting.
When Touch-Ups Are Needed
- Small chips or scratches from furniture or daily wear
- Scuff marks that won't come clean with washing
- Minor stains that have penetrated the paint surface
- Small areas where paint has worn thin
- Nail holes or small repairs after hanging artwork
Professional Touch-Up Method
- Clean the area thoroughly: Remove any dirt, grease, or loose paint using a mild detergent solution and allow to dry completely
- Prepare the surface: Lightly sand the edges of damaged spots with fine-grit sandpaper (220-grit) to create a smooth transition
- Match your paint exactly: Use leftover paint from your original job, ensuring it's the same color and finish. If you don't have original paint, bring a paint chip to a professional for color matching
- Use the same application tool: If the wall was originally rolled, use a small roller for touch-ups. If brushed, use a brush. This ensures texture consistency
- Apply thin coats: Use minimal paint and feather the edges to blend seamlessly with the surrounding area
- Allow proper drying time: Wait for the first coat to dry completely before assessing whether a second coat is needed
Pro tip: Save leftover paint in clearly labeled containers with the date, room name, and paint specifications. This makes future touch-ups much easier and ensures perfect color matching.
Long-Term Maintenance: Keeping Your Paint Looking New
Proper ongoing maintenance extends the life of your paint job significantly, often delaying the need for repainting by several years.
Monthly Maintenance Checklist
- Inspect regularly: Check for early signs of wear, peeling, or damage that can be addressed before becoming major issues
- Dust and vacuum: Remove dust from walls, corners, and baseboards to prevent buildup
- Address spills immediately: Clean splashes and spills as soon as they occur (after the curing period) to prevent staining
- Monitor humidity levels: Excessive moisture can damage paint, especially in bathrooms and kitchens
- Check for mildew: Look for signs of mold or mildew, particularly in humid areas, and address promptly
Environmental Factors That Affect Paint Longevity
Sunlight exposure: Direct sunlight can fade paint colors over time, particularly on south and west-facing walls. Consider UV-protective window treatments in rooms with intense sun exposure.
Humidity control: Maintain consistent indoor humidity levels between 30-50% to prevent paint deterioration. High humidity can cause paint to peel or bubble, while very low humidity can cause cracking.
Temperature stability: Avoid extreme temperature fluctuations, which can cause paint to expand and contract, leading to cracking or peeling.
What to Avoid to Protect Your Investment
- Harsh chemical cleaners, including bleach-based products
- Abrasive scrubbing pads or brushes
- Excessive water or soaking painted surfaces
- Steam cleaners on painted walls
- Adhesive tapes applied directly to paint (use removable hanging systems instead)
Special Considerations for Different Rooms
Kitchens: Clean more frequently due to grease and cooking residue. Use grease-cutting dishwashing liquid solutions and clean splatter zones weekly.
Bathrooms: Ensure proper ventilation to prevent moisture damage. Clean monthly with mildew-resistant solutions and inspect regularly for signs of moisture problems.
Children's rooms and playrooms: Choose more durable paint finishes (eggshell or satin) that can withstand frequent cleaning. Keep touch-up paint readily available for inevitable marks and scuffs.
High-traffic hallways: These areas benefit from semi-gloss or satin finishes that are more washable and resistant to scuffs.
When to Call Professional Painters
While proper aftercare and minor touch-ups can significantly extend your paint's lifespan, some situations warrant professional attention:
- Large areas of peeling, bubbling, or extensive damage
- Color fading or discoloration across entire walls
- Persistent stains that won't respond to cleaning
- Water damage or mold issues affecting painted surfaces
- Difficulty matching touch-up paint to existing colors
- Touch-ups that remain visible despite proper technique
Professional painters have the expertise and tools to assess damage, prepare surfaces properly, and ensure seamless repairs or complete repainting when necessary.
Protecting Your Painting Investment
Your newly painted home represents both a financial investment and an enhancement to your living space. By following these aftercare guidelines waiting for proper curing, cleaning with appropriate methods, performing timely touch-ups, and maintaining your painted surfaces, you'll enjoy beautiful, fresh-looking walls for many years. Remember that patience during the initial curing period and gentle, regular maintenance are the keys to long-lasting paint that continues to look professionally done.